
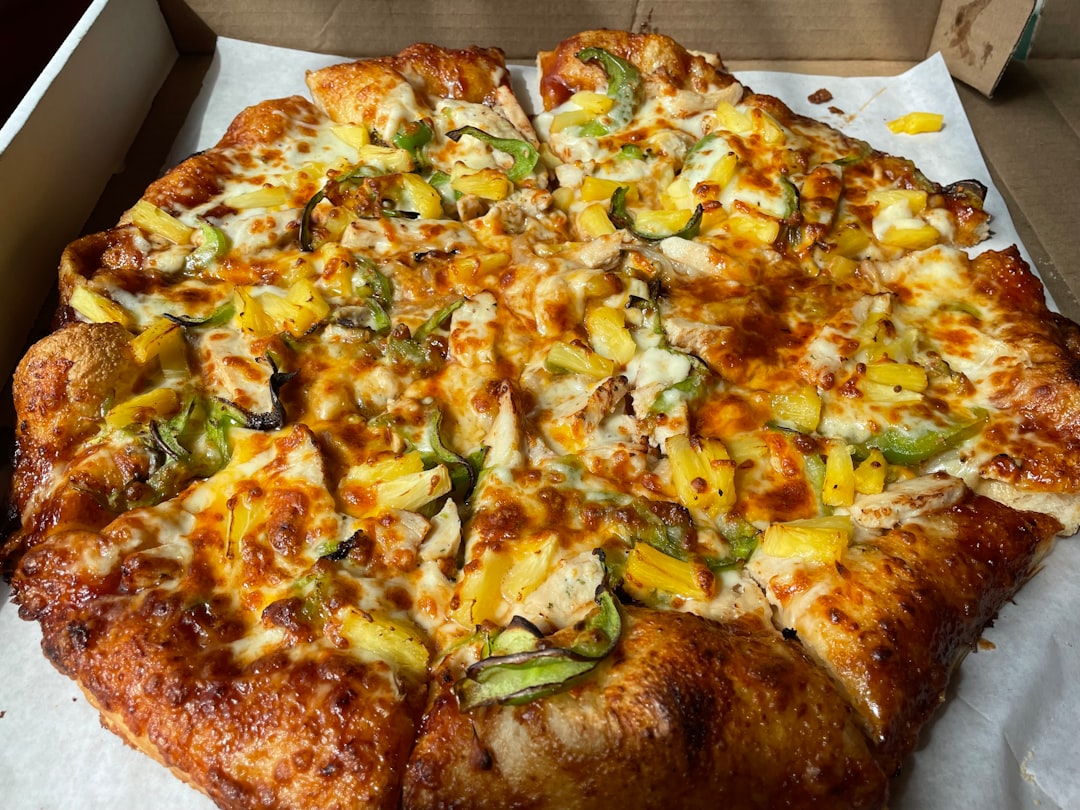
At Freshslice, our signature pizza crust is the foundation of everything we create. That perfect balance of crispy exterior and chewy interior doesn't happen by accident—it's the result of decades of experience, careful technique, and quality ingredients. Today, our master bakers are sharing their secrets so you can create restaurant-quality pizza at home.
It All Starts with the Ingredients
The first step to an exceptional pizza crust is using the right flour. At Freshslice, we use a high-protein flour with a protein content of around 12-14%. This higher protein content creates more gluten, which gives the dough its structure and chewiness.
Here's what you'll need for a basic pizza dough that makes two medium-sized crusts:
- 3½ cups (500g) high-protein bread flour
- 1 teaspoon sugar
- 2¼ teaspoons (1 packet) active dry yeast
- 2 teaspoons salt
- 1½ cups warm water (around 110°F/43°C)
- 2 tablespoons olive oil, plus more for the bowl
The Technique: Time and Temperature Matter
What many home cooks don't realize is that time and temperature are just as important as the ingredients themselves. Here's our step-by-step process:
- Activate the yeast: Dissolve the sugar in warm water, then sprinkle the yeast over top. Let it sit for about 5-10 minutes until foamy. This ensures your yeast is alive and active.
- Mix the dry ingredients: In a large bowl, whisk together the flour and salt.
- Combine wet and dry: Make a well in the center of the flour mixture and pour in the yeast mixture and olive oil. Mix until a shaggy dough forms.
- Knead properly: Turn the dough out onto a floured surface and knead for 8-10 minutes. This develops the gluten structure. The dough should be smooth and elastic, but still slightly tacky.
- First rise: Place the dough in an oiled bowl, cover with plastic wrap, and let rise until doubled in size (about 1-2 hours at room temperature).
- The secret step - cold fermentation: After the first rise, punch down the dough, divide it into two balls, and place them in separate sealed containers. Refrigerate for at least 24 hours, or up to 72 hours. This slow fermentation is what develops the complex flavor and perfect texture.
Pro Tip:
Don't rush the cold fermentation! This is where the magic happens. The enzymes in the dough break down starches into simpler sugars, creating both better flavor and a crust that browns more beautifully in the oven.
The Baking: Creating That Perfect Crust
After your dough has properly fermented, here's how to transform it into a perfect crust:
- Preheat thoroughly: Heat your oven to the highest temperature it will go (ideally 500°F/260°C or higher) with a pizza stone or steel inside for at least 45-60 minutes.
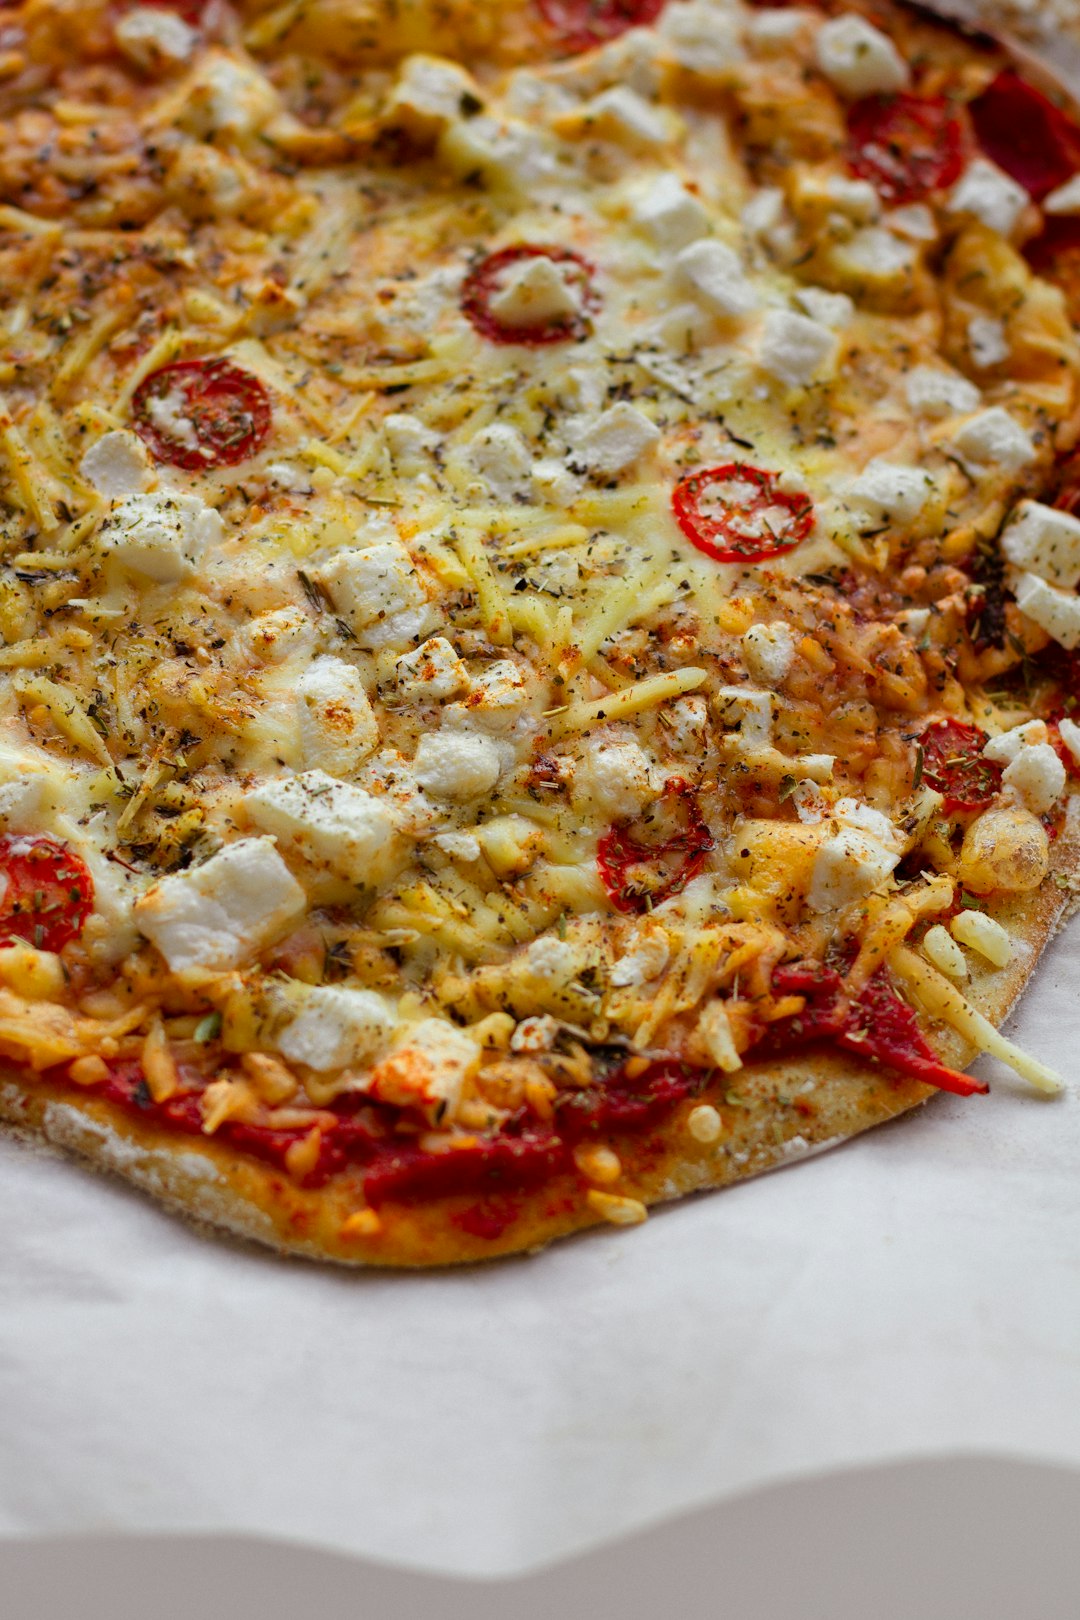
- Shape don't roll: Take the dough out of the refrigerator 1-2 hours before baking. Shape it by hand rather than using a rolling pin, which can push out the valuable air bubbles. Gently stretch the dough from the center outward, rotating as you go.
- Don't overload toppings: Too many toppings will release moisture and make your crust soggy. Use a light hand with sauce and toppings.
- Transfer technique: Use a well-floured pizza peel to transfer your pizza to the hot stone or steel. A quick forward-and-back jerking motion helps slide it off cleanly.
- Watch closely: Pizzas at high temperatures can cook in as little as 7-10 minutes. Look for a golden-brown crust and bubbling cheese.

Proper hand-stretching preserves air bubbles in the dough
Troubleshooting Common Problems
Even our master bakers occasionally face challenges. Here are solutions to common pizza crust issues:
Tough, Chewy Crust
Cause: Overworked dough or too much protein
Solution: Knead just until smooth and elastic. For a more tender crust, replace 10-15% of the bread flour with all-purpose flour.
Pale, Undercooked Crust
Cause: Oven not hot enough or dough too thick
Solution: Ensure oven and stone are thoroughly preheated. Stretch dough thinner in the center.
Soggy Middle
Cause: Too much sauce or wet toppings
Solution: Use less sauce and pre-cook watery vegetables like mushrooms or zucchini.
Dough Too Sticky to Work With
Cause: Too much hydration or not enough flour
Solution: Use lightly floured hands and surface. If persistent, add a tablespoon of flour at a time until workable.
Final Thoughts from Our Head Baker
"The perfect pizza crust is a journey, not a destination. Don't be discouraged if your first few attempts aren't perfect. Each time you make dough, you'll learn something new about how it feels, smells, and behaves. That's the beauty of baking—it's both a science and an art. And remember, even an imperfect homemade pizza is usually better than a mediocre delivery pizza!" — Chef Mario Rossi, Head Baker at Freshslice Pizza
We hope these tips help you create amazing pizza at home. Of course, when you don't feel like making your own, Freshslice is always here with our perfectly crafted pizzas made from quality ingredients at great value.
Not in the mood to bake? We've got you covered!
Order Freshslice Now

Comments (6)
Sarah J.
June 17, 2023I tried this cold fermentation technique and it made a HUGE difference! My pizza crust finally has that restaurant-quality chew and flavor. Thank you for sharing these tips!
Mike T.
June 16, 2023Question - can I freeze the dough after the cold fermentation? I'd like to make a bigger batch and save some for later.
Chef Mario (Author)
June 16, 2023Hi Mike! Yes, you can freeze the dough after fermentation. Just wrap each dough ball tightly in plastic wrap and then place in a freezer bag. It should keep well for up to 3 months. Thaw overnight in the refrigerator before using.
Lisa M.
June 16, 2023These are great tips! I've always struggled with getting my pizza from the peel to the stone without it folding or sticking. The quick jerking motion tip really helped!
Leave a Comment